- Go to Digital Ocean and create an account.
- Create a new Droplet.
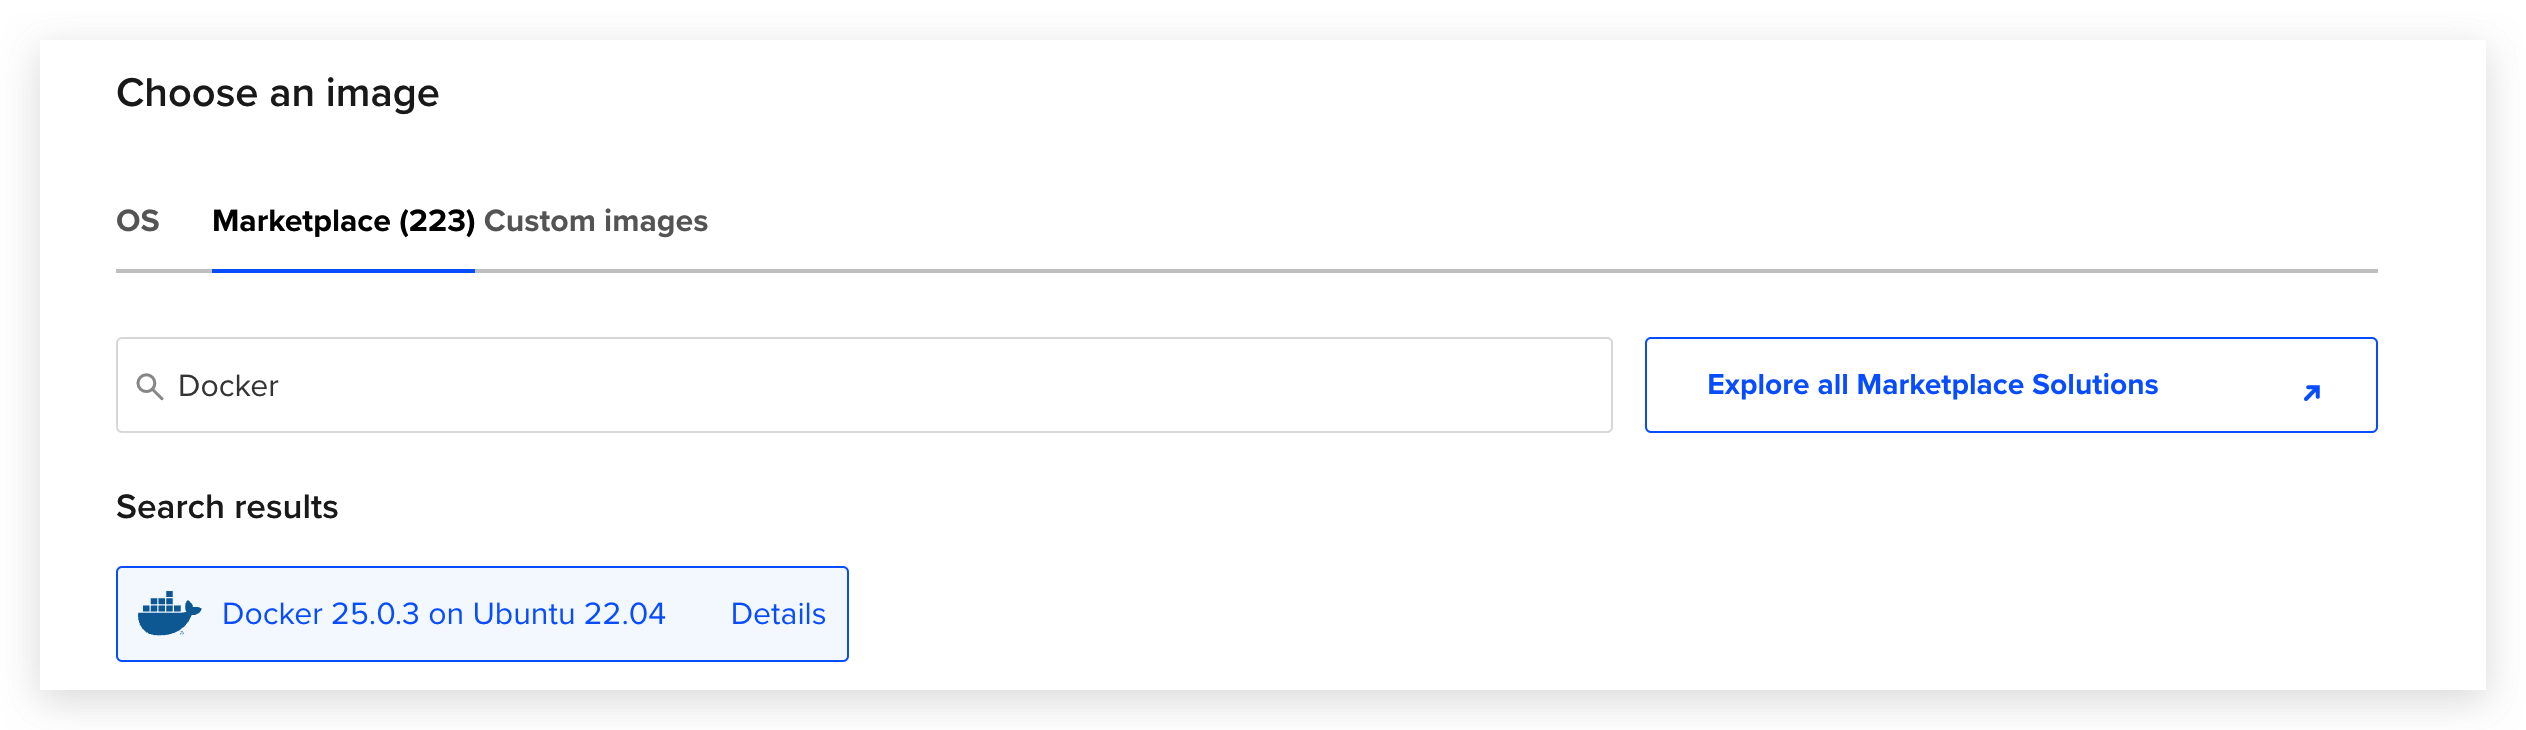
- Choose the Docker image from the Marketplace.
- Choose the Standard Droplet plan.
- Wait for the Droplet to be created.
- SSH into your Droplet.
- Clone the Quivr repository.
- Copy the
.env.examplefile.
- Update the
.envfile.
- Update the
OPENAI_API_KEY - Update the
NEXT_PUBLIC_BACKEND_URLwith your Droplet IP ->http://your-droplet-ip:5050 - UPDATE the
NEXT_PUBLIC_SUPABASE_URLwith your Droplet IP ->http://your-droplet-ip:54321 - Update the
NEXT_PUBLIC_FRONTEND_URLwith your Droplet IP ->http://your-droplet-ip:3000
- Install Supabase
- Allow the firewall
- Launch the project
- Access the Quivr app